
Now you already installed WPStape and already have your Streamtape API Username and API key, it’s time to start configuring the WPStape plugin.
Step 1: Complete the Basic API Settings
Under the WPStape menu, click the Settings menu. You will see the following page:
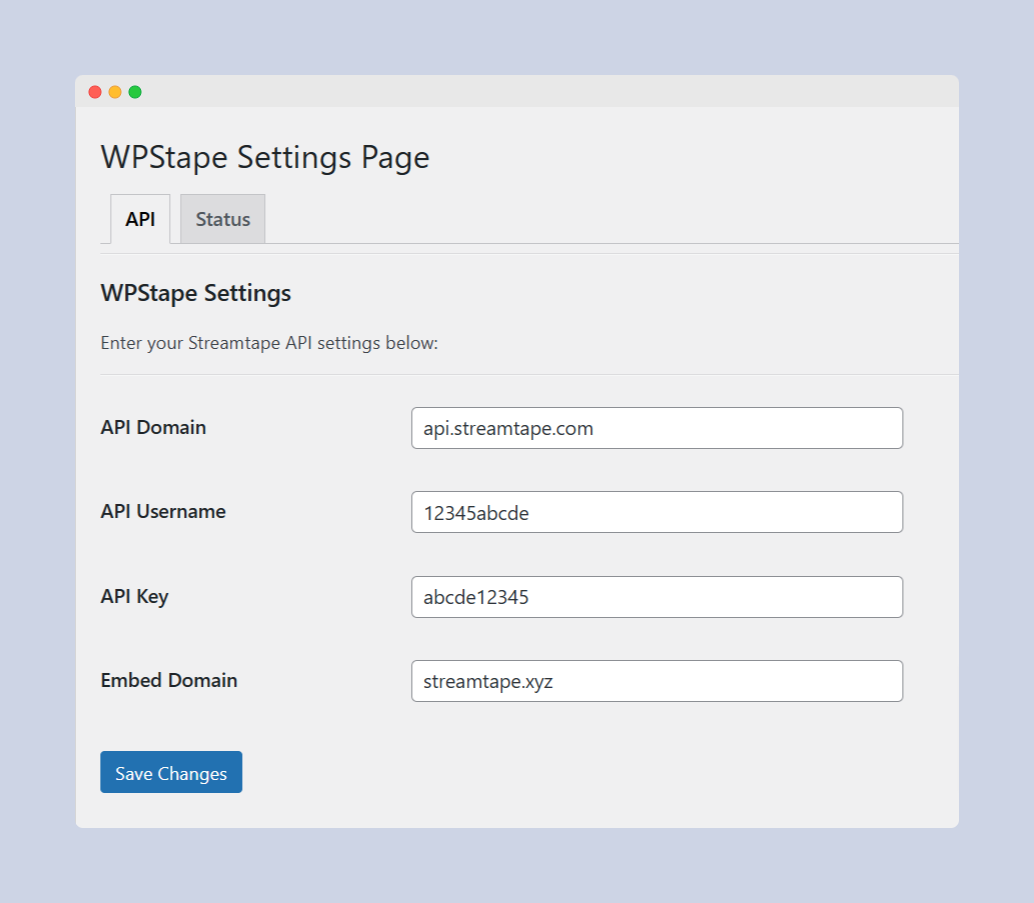
You can configure this basic settings to have your configurations ready immediately. Here’s the breakdown:
- API Domain: By default, it’s set to api.streamtape.com as it’s the official API domain of Streamtape. If the Streamtape ever changes the API domain, you will need to adjust it here as well.
- API Username: Enter your API Username from the previous WPStape documentation section.
- API Key: Insert with your Streamtape API key. Don’t have an API key? Follow this instruction.
- Embed Domain: You can change the embed domain anytime. Streamtape’s embed domain is changing frequently or blocked in several countries, so you can use this option to adjust it.
Save Changes and follow the next step.
Step 2: Test API Connection & See Your Account Stats
To see whether the previous settings are correct, you can test the API connection. Head over to Status tab on the same page. You should see this page:
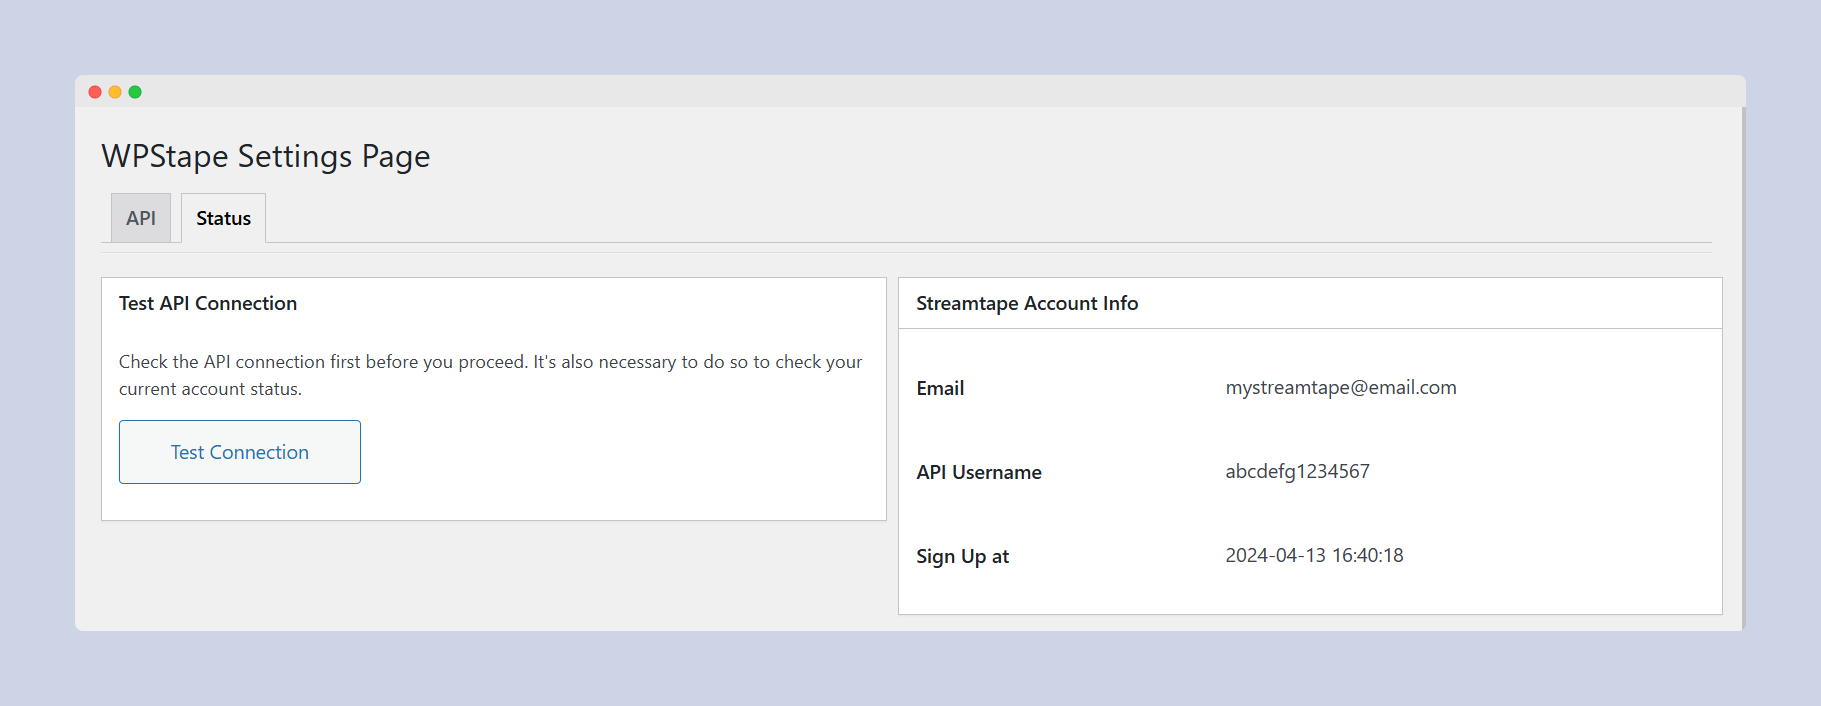
Click the Test Connection button on the left. If everything’s correct, then you can see your Streamtape account status or information on the right side. To update the account status or statistics, you can just click the Test Connection button again.